Best Alberta Whitetail Hunting Outfitter
October 19, 2019
Benefits of Harvesting and Eating Big Game
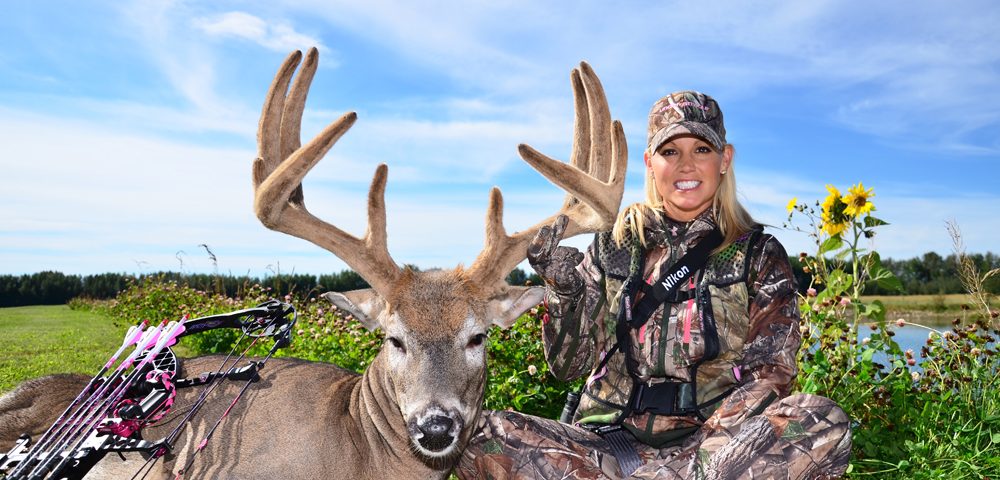
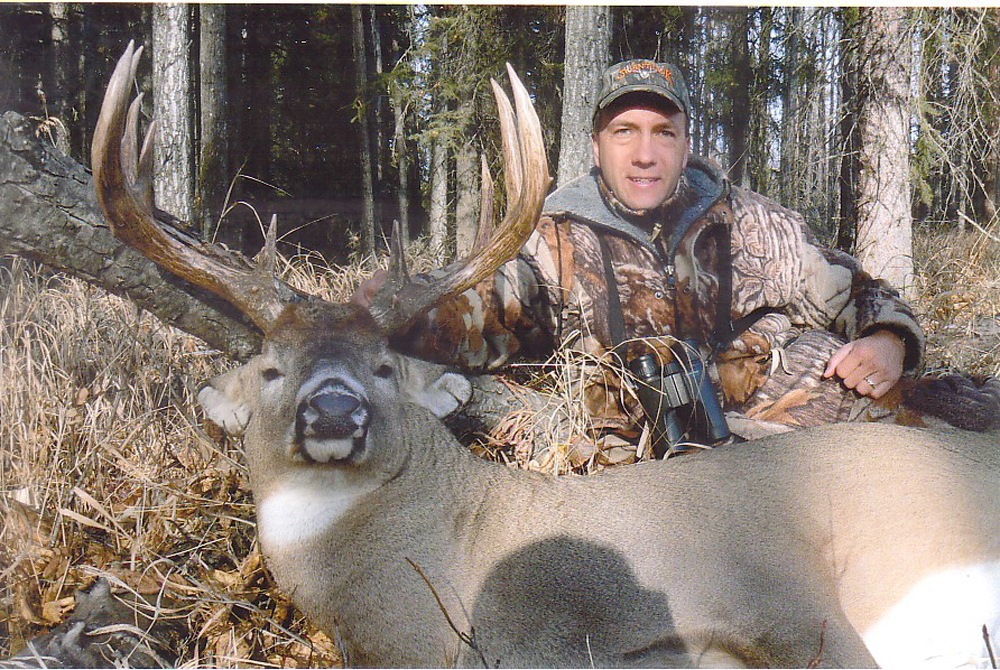
October 19, 2019 Sometimes you might see a photo online or in a magazine and think to yourself, wow, that’s a stunning field photo… What makes up a great field photo? It might be the pose of the animal, scenery, foreground or background objects etc. Sometimes you have to work with what’s around you and it might not always be the most picture perfect spot. That’s okay, we will give you a few tips here to help make your photos the best they possibly can be.
First, lets start with wiping all of the blood possible off the animal. Especially around its nose and on its face. This will help clean up your pictures tremendously and help make the animal ten times more presentable. To clean it’s face use snow, water, leaves or even wet wipes if you have them.
Second, remove any brush, grass, twigs or sticks from around the animal the best you can, especially around it’s facial area. This will give the animal a nice clean presence not covered up to where you can barely see it.
Third, use natural features like a bush, log or rock to give your photo more depth. Look for a small hill or something to get the animal a little elevation if possible. Don’t leave it in a hole. Place the animals rear quarter on the edge of a bush or rock if possible about 2 feet behind it. Leave the back hip to the head forward exposed. Or maybe put the animal on top of a rock if it’s big enough. Tuck the animals legs underneath if you can.
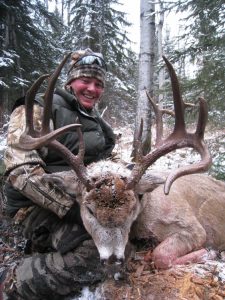 Fourth, try and find a way to sit behind the animal and get yourself below his head when you lift it up. Antlers or horns above your head will make them the center of focus and also make them look more appealing and possibly a little bigger. However, we don’t want it to look fake. When you lift the animals head, try and put it in your palm underneath the lower jaw. Try and avoid grabbing the antlers or even worse grabbing it by the ears and pinning them back. We want this to look as natural as possible.
Fifth, position. Try and position yourself in the middle of the animal with the head either on your left or right. Make sure the head is level as possible so the antlers appear level. You don’t want one side tipping to the camera or the other back towards your where people can’t see the antlers clearly. Take several shots side profile and then turn the head slightly towards the camera to give a different angle. If you really want to get creative and you have a cameraman or woman, have them come up behind you and take pictures while you’re looking at the animal from behind. Give a new angle on the shot.
Depending on your camera setup and skill level and after you have the basics down, then start getting creative on angles and using depth of field to get those unique shots. Remember, you only get ONE SHOT at pictures. Once you start gutting the animal it’s over. So take your time, take a few extra minutes and do them right from the beginning. Your end results will show.
If you have questions about our whitetail hunts, call us anytime at 780-675-1942 or contact us online.
